obd2tools

obd2tools

obd2tools

obd2tools

Steps to install VAS5054A ODIS Windows 10 64bit

Possible to install VAS5054A ODIS on Windows 10 64 bit system?

Replied by a fellow at the mhh forum:

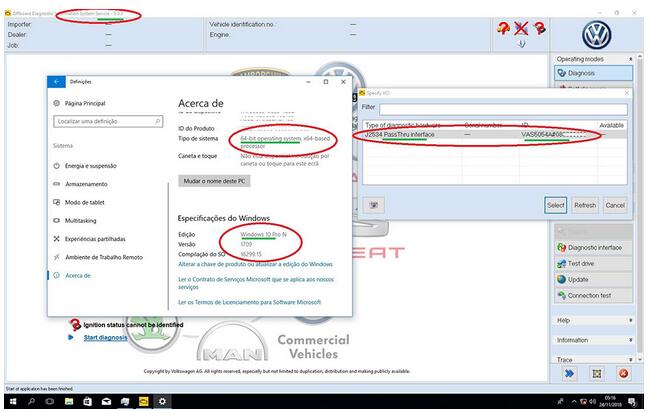
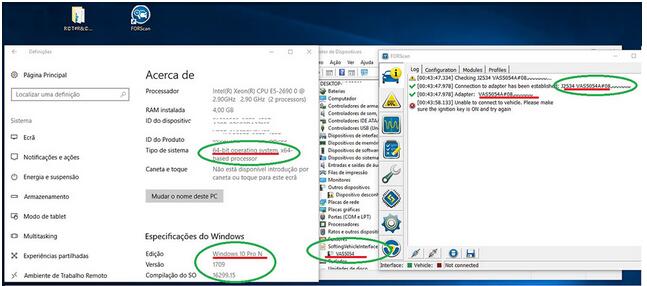
i don′t know if ODIS works on win10 because i never test it, but i did test the VAS5054 64bit PASSTHRU
drivers on win10 PRO, and as the picture show, it is working and was detected by ForScan.

If ODIS install on Windows 10 than it will also work with the 5054 together with this drivers as a PassThru interface.

Some people report error installing this drivers on win10, for me they install and are working,
maybe different versions of win10 (or after updates) give that errors.

Steps-to-install-VAS5054A-ODIS-Windows-10-64bit-1

One more update, ODIS 5.0.3 on same Win10 64bit with Vas5054 as PassThru,
the 64bit drivers are the ones on this thread.

I try just to see if works, but i don′t advise as win10 give many error at start, and also
i have to make several attempts to finally see it open with no mistakes or error.

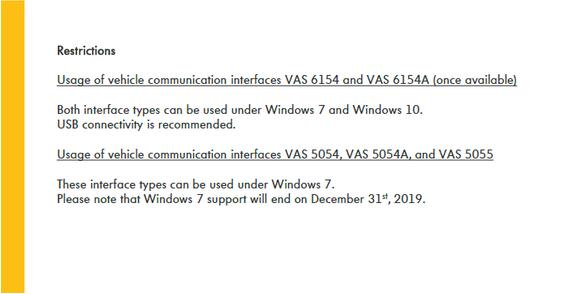
This way you can use 64bit Windows (Win 7 is the best) to install ODIS,
and still be able to use your old and “fantastic” Vas5054 interface as PassThru.

Steps-to-install-VAS5054A-ODIS-Windows-10-64bit-2

Attach odis release notes:

Steps-to-install-VAS5054A-ODIS-Windows-10-64bit-3

Scania SDP3 2.38.2.37.0 Download, Install, Activate: Confirmed

Download: Scania Diagnos & Programmer SDP3 2.38.2.37.0 free version and tested version

SDP3 2.38 Free version:

SDP3 2.38 Software:

scania-sdp3-2.38.2-download-1

SDP3 2.38 Activator:

scania-sdp3-2.38.2-download-2

Password: No password

Security: unknown

Installation & activation: on your own

This is how to install and activate SDP3 2.38:

1) Install run admin 1.bat

2) Restart the PC

3) Install sdp3 2.38.2 and restart

4) Install driver 32 or 64 Bit

5) Run “Hardware ID Reader” copy ID machine

6) Run “Protection REG” paste up ID machine —> click in “Decode Fingerprint” —> click in “Generate” —> a .reg file is generated in the folder

7) Run clik .reg file and apply in registy

8) Copy and replace in the program folder 2 file “Fix 2.38.2”

9) Run install “ScaniaSDP3Time Add 2 Year”

10) Restart PC

SDP3 2.38 download:

scania-sdp3-2.38-download-3

Password: with password

Security: Safe! Confirmed by professionals!

Installation & activation: remote help by engineers obd2tool.com

Operating system:

SDP3 2.38 Windows 7 32 bit: Confirmed!

SDP3 2.38 Windows 8/8.1 32 bit: Confirmed!

SDP3 2.38 Windows 10 32 bit: Confirmed!

Description:

The catalog “Scania SDP2 2.38 Diagnostic Software” is the dealer software , contains all needed detailed infomation , which depends on type of the catalog (spare parts catalog, repair service manuals / bulletins, workshop or shop manuals, body repair manuals, wiring / electrical diagrams, hydraulic lines, customer or operation manuals, diagnostic program, technical information and other documents)

Workability:

– Verified to work with Scania VCI2: can support vehicles after the year 1995:

Scania P, G, R, T, buses Scania series K, N, and other vehicles using engines Scania

– Verified to work with Scania VCI3: support vehicles after the year 2004:

trucks, buses and other heavy vehicles, which produces the corporation Scania

Features:

Highest level access

Internal Scania

Industry & Marine

Authorized Scania Workshops

Bodybuilder

Functions:

Check and adjustments

Conversion

Maintenance

Campaign

Bodywork

Fault Codes

Fault Reporting

Programming of Control units

Images:

scania-sdp3-2.38-download-4

Cummins Inline 7 Data Link Adapter

Cummins-INLINE-7-1

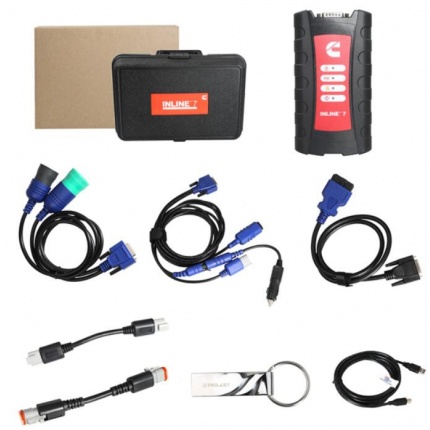
It’s like adding a turbocharger to Electronic Control Module downloads and uploads. Cummins new INLINE 7 Data Link Adapter has a faster processor, more robust algorithms, larger memory buffers and more sophisticated filtering than previous models while simultaneously accessing multiple vehicle data channels. INLINE 7 supports USB, WiFi and Bluetooth technologies in a single device. Cummins INLINE 7 communicates with your PC and is designed for future capability with mobile products.

The INLINE 7 Data Link Adapter is designed to function with a wide array of Cummins, OEM and third-party service and information tools, including the following:

*   Cummins INSITE
*   Cummins PowerSpec
*   Detroit Diesel Diagnostic Link
*   CAT Electronic Technician (On-Highway only)
*   Navistar? -ServiceMaxx Fleet Pro
*   Volvo PTT
*   VCAD Elite Mack/Volvo
*   V-Mac Service Tools
*   Allison DOC? For PC Service Tool
*   Allison DOC? for Fleets (1000/2000/3000/4000)
*   Eaton ServiceRanger
*   Bendix ACom
*   WABCO Toolbox
*   Freightliner ServiceLink
*   International DLB, Intune, and IPC v2.02
*   International ServiceMaxx
*   PF-Diagnosis
*   … and many more!

The Heavy Duty Truck diagnostic Scanner INLINE 7 data link adapter communicates with your PC using a Universal Serial Bus (USB)

through a standard USB connector as well as through WiFi or Bluetooth. INLINE 7 is fully compliant with the Technology and Maintenance Council’s RP1210 standard and supports three simultaneous CAN connections and offers baud rates of 250k, 500k and 1 megabaud. INLINE 7 supports several other protocols such as J1708, J1587, ISO 15765, ISO 9141 (K and L line).
Industrial-Strength Design.

Cummins INLINE 7 Data Link Adapter incorporates strain relief secure cables for a robust connection. The rugged carrying case provides extra protection for the most demanding service environments. The main unit comes with a full one-year warranty against software and hardware malfunction.

Contents

Everything you need from locking USB cable, 6-Pin, and 9-Pin Deutsch Wye adapter with security chip, 3-pin Cable, and rugged storage case is included in the complete INLINE 7 kit.

How to use Autel MaxiTPMS TS601 and PAD test clone create TPM sensor and program MX-sensors

Here most detailed procedure on TPMS sensors market trends, the reason to use Autel MaxiTPMS diagnostic scan tools, the procedure for solving most of the daily TPMS repair   scenarios you may encounter, how to use Autel MaxiTPMS TS601 and MaxiTPMS PAD and more. Please proceed to reading following parts.

TPMS sensors market trends?

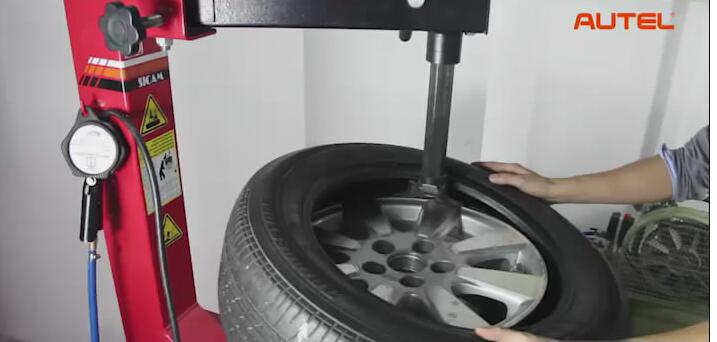
It has become very difficult for tire shops nowadays to keep up with the dizzying variety of OEM sensors, and even impossible to stock the incredible number of OEM sensors that would be required to cover the market. In addition, the original TPMS sensors with sealed battery generally last for 6-8 years. With a large-scale of sensors in use for six years now, the first wave of battery failure is starting to appear. That means an enormous number of sensors will have to be replaced in the next few year.

Why need Autel MaxiTPMS Tool?

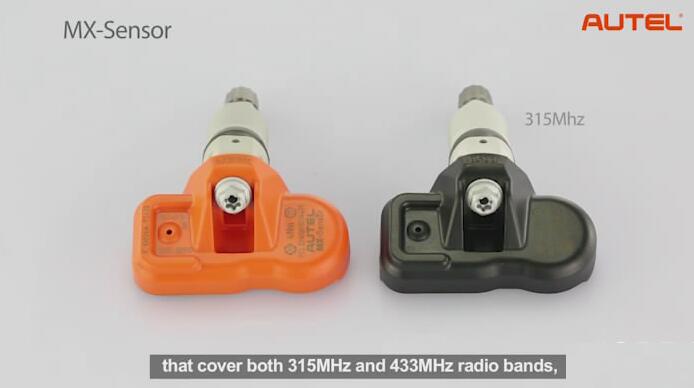
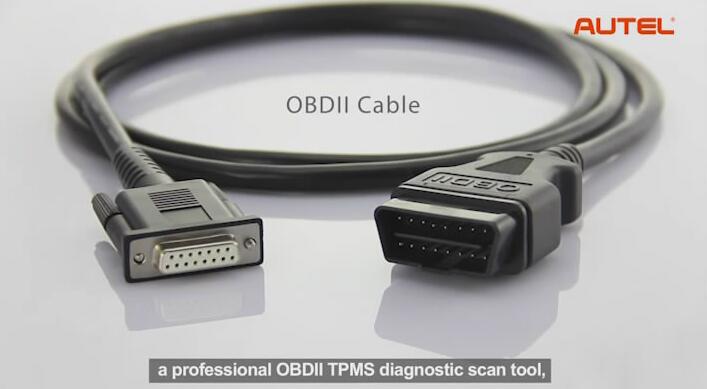
Autel’s MaxiTPMS diagnostic scan tool series come just in time to quite literally save all troubles. The MaxiTPMS system consists of the programmable MX-Sensors that cover both 315MHz and 433MHz radio bands, a professional OBDII TPMS diagnostic tool is able to relearn vehicle ECUs and program the MX-sensors, plus a convenient programming accessory device to perform fast sensor testing and cloning. In short it covers all that is needed to deliver comprehensive TPMS service. The MaxiTPMS series is aimed at simplifying TPMS services to help you solve problems more easily and efficiently, and enhance your profitability.

How-to-use-Autel-MaxiTPMS-TS601-1
How-to-use-Autel-MaxiTPMS-TS601-2

There are 3 basic procedures for solving most of the daily TPMS repair scenarios you may encounter:

1. Activating TPM sensors.
2. Cloning a set of TPM sensors.
3. Creating a new set of TPM sensors.

Car model and year for example:

Porsche Cayenne 2009-2010

Tool to use:
Autel MaxiTPMS tool TS601
Autel 315 MHz MX-sensor
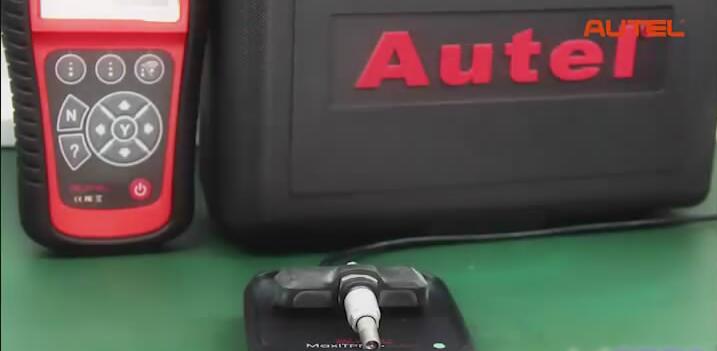
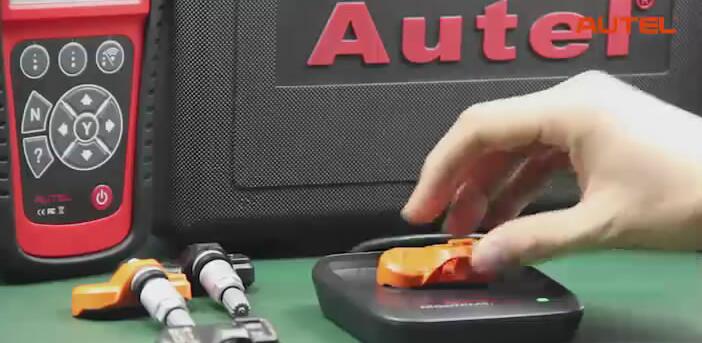
Autel MaxiTPMS Pad

Now we are going to show you how the MaxiTPMS tools interface with each other to complete these procedures quickly and easily.

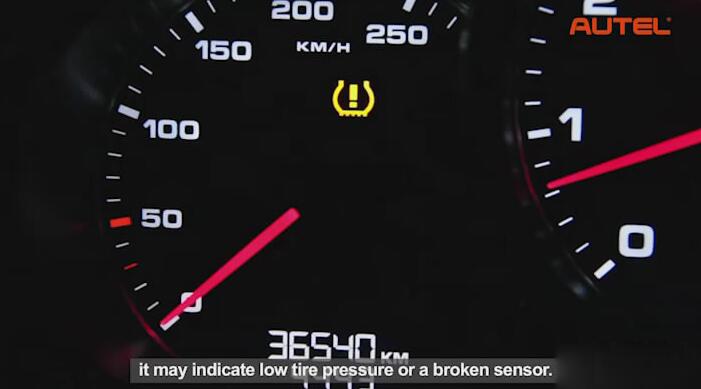
When the TPMS warning light is on, it may indicate low tire pressure or a broken sensor.

How-to-use-Autel-MaxiTPMS-TS601-3

In order to solve the problem and turn off the warning light, let’s start from the first procedure to activate the TPM sensors using the Autel TS601 scan tool.

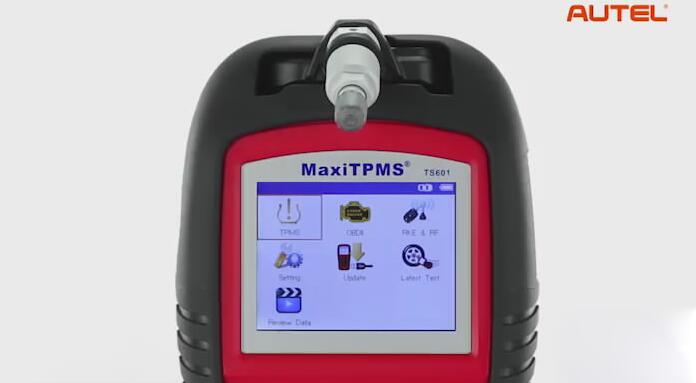
1). Power up your TS601 and select TPMS from the main menu.
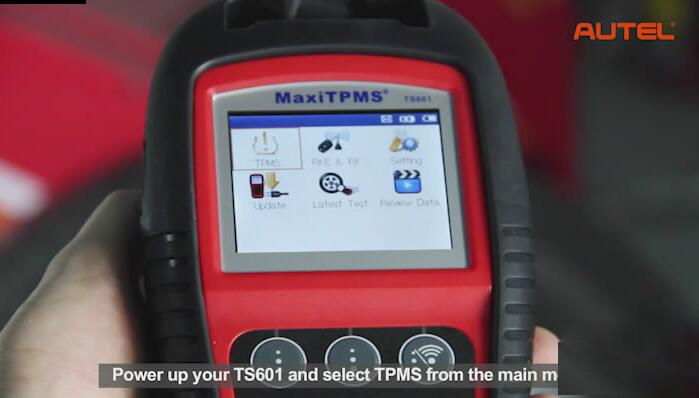
How-to-use-Autel-MaxiTPMS-TS601-4

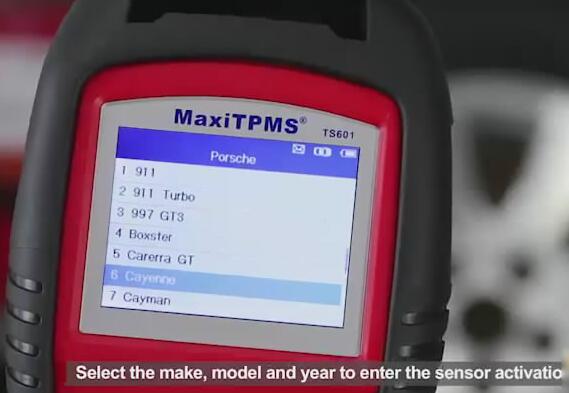
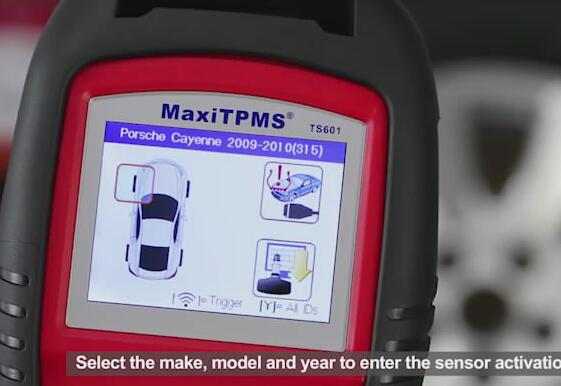
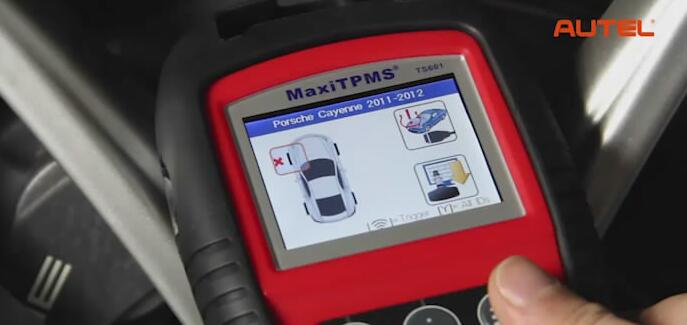
2) Select the make, model and year to enter the sensor activation screen. For example: Porsche Cayenne 2009-2010

How-to-use-Autel-MaxiTPMS-TS601-5
How-to-use-Autel-MaxiTPMS-TS601-7

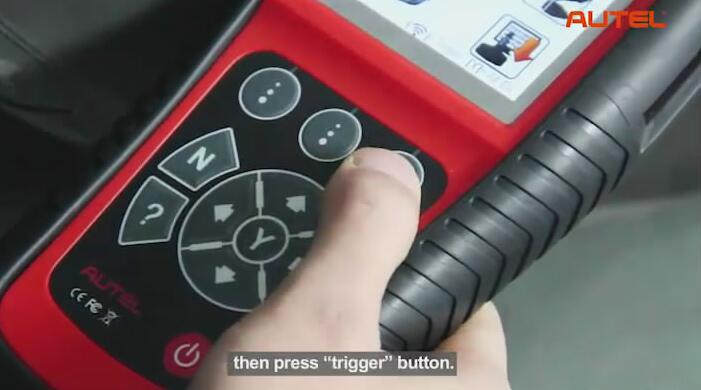
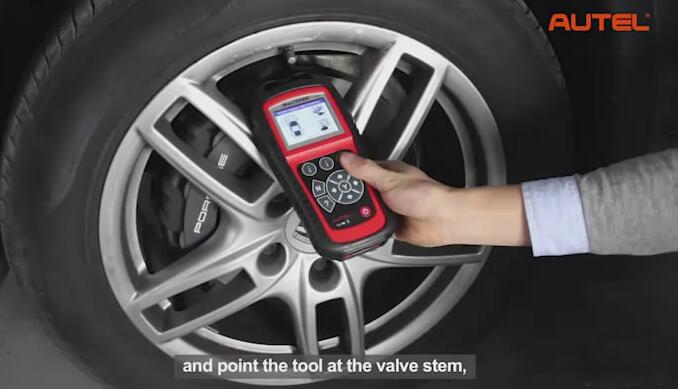
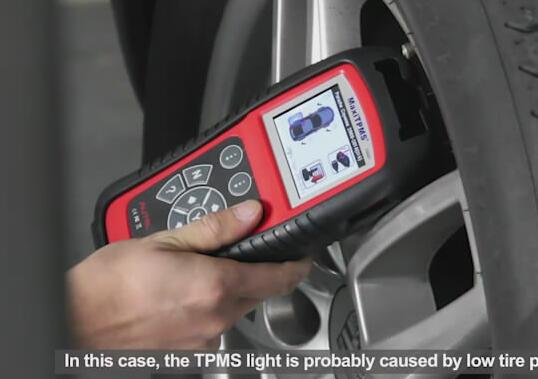
3)Take a walk around the car to each tire and point the TS601 tool at the valve stem, then press the “trigger” button.

How-to-use-Autel-MaxiTPMS-TS601-8
How-to-use-Autel-MaxiTPMS-TS601-9

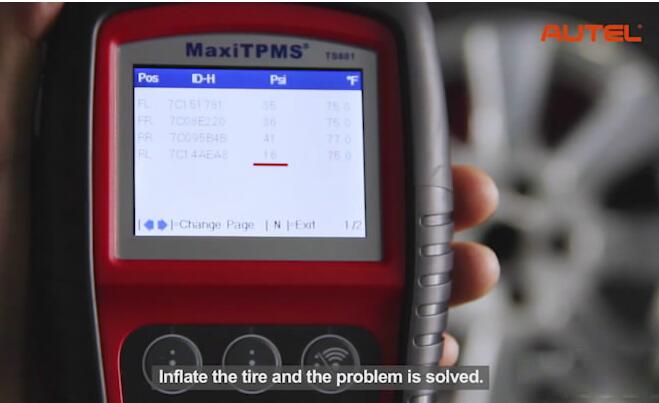
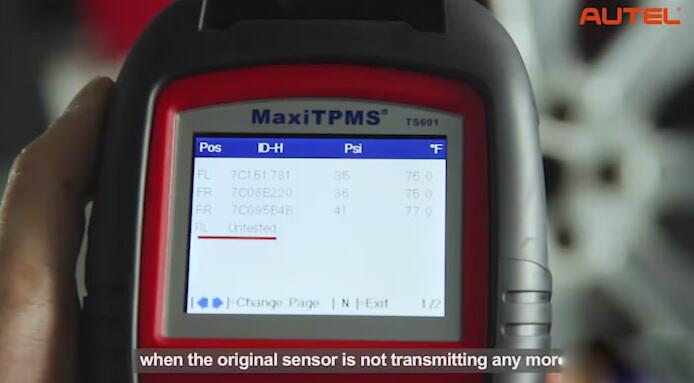
If the sensors are good and reading is successfully, the sensor information will be displayed on screen. In this case, the TPMS light is probably caused by low tire pressure. Check the test result on the Autel TPMS TS601 tool to find out the tire with low pressure value. Inflate the tire and the problem is solved.
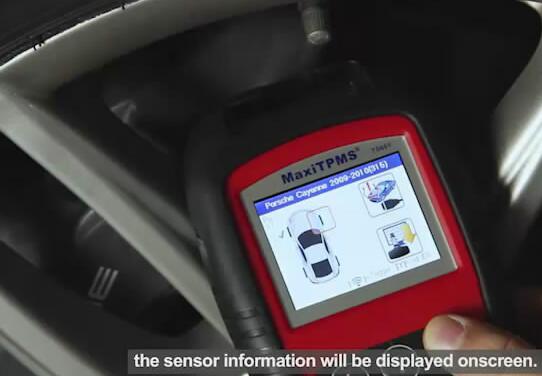
How-to-use-Autel-MaxiTPMS-TS601-10 How-to-use-Autel-MaxiTPMS-TS601-11 How-to-use-Autel-MaxiTPMS-TS601-12
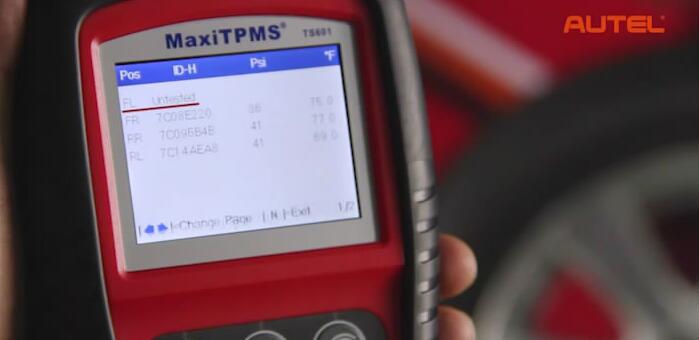
If the sensor is bad and reading has failed, this may indicate that the sensor is broken either mechanically or electronically (Damaged, low battery), in this case you need to replace the sensor by cloning one with the original sensor ID or simply create a new one with a generated sensor ID.
How-to-use-Autel-MaxiTPMS-TS601-13
How-to-use-Autel-MaxiTPMS-TS601-14

There are 3 ways to clone a set of TPM sensors:

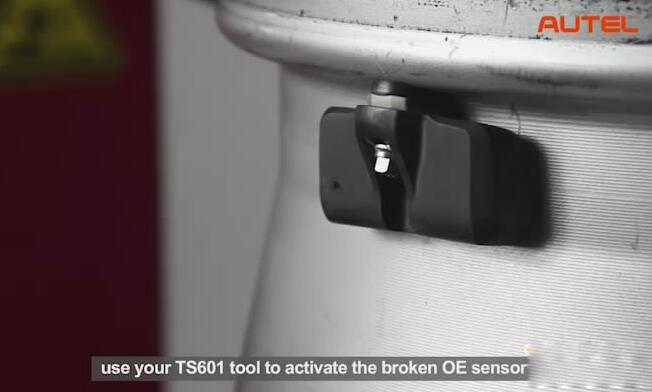
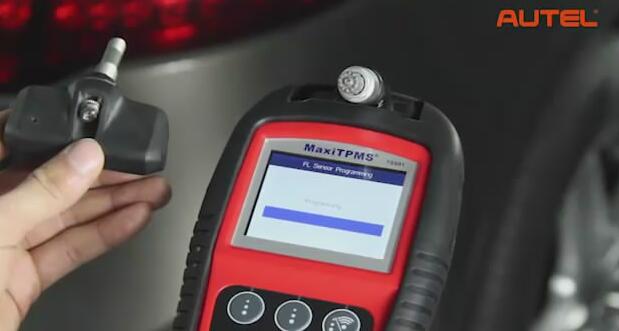
1st method: Using the Autel TS601 scan tool and a MX-Sensor. With the first method, use your TS601 tool to activate the broken OE sensor directly to retrieve the sensor ID and then program to the MX-Sensor.

How-to-use-Autel-MaxiTPMS-TS601-15 How-to-use-Autel-MaxiTPMS-TS601-16

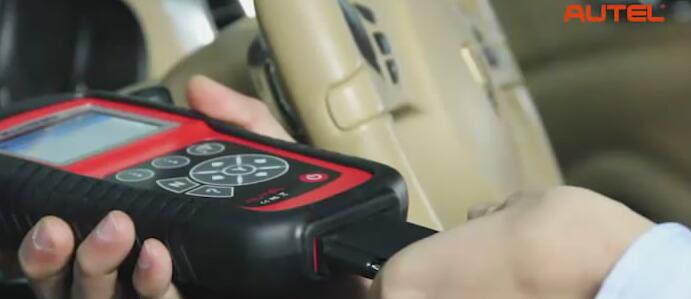
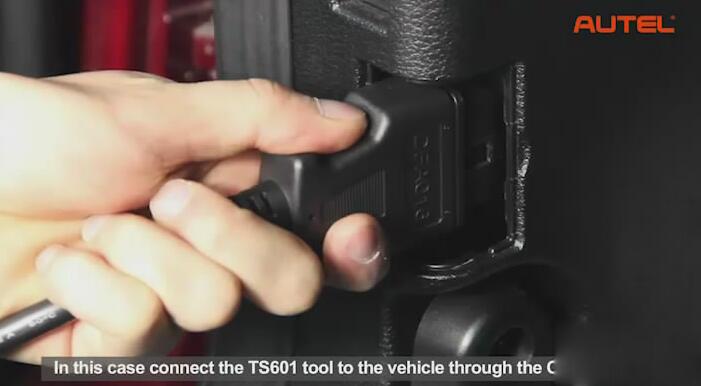
2nd method: The 2nd method can be used when the original sensor is not transmitting any more. In this case connect the TS601 tool to the vehicle through the OBDII cable and retrieve the sensor ID from the car system.
How-to-use-Autel-MaxiTPMS-TS601-17
How-to-use-Autel-MaxiTPMS-TS601-18
How-to-use-Autel-MaxiTPMS-TS601-19

Unplug the TS601 from the car when learning is successful, insert the MX-sensor and program the Copied ID to the sensor to finish cloning.

How-to-use-Autel-MaxiTPMS-TS601-20

3rd method: to manually input the original sensor ID to the TS601 tool and the program it to the MX-Sensor.

How-to-use-Autel-MaxiTPMS-TS601-21 How-to-use-Autel-MaxiTPMS-TS601-22

In conclusion:

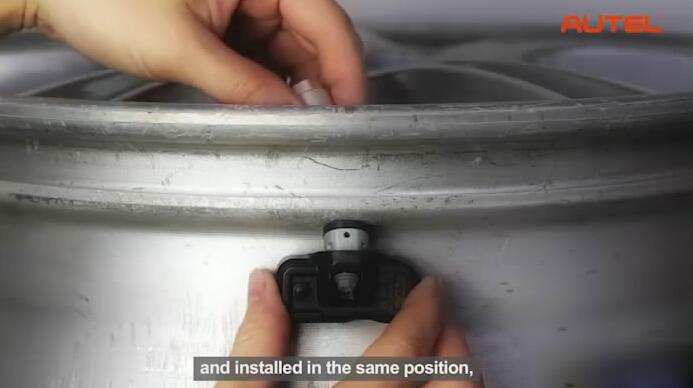
Since the new sensors reprogrammed with the same original sensor IDS and installed in the same position, no TPMS relearn procedure is needed after replacement. When the original sensors are electronically broken that the reading has failed, or the sensors are simply missing with no reading, you can always use the TS601 scan tool to create a new set of TPM Sensors. Enter the TPMS function from the main menu on TS601. Select a specific vehicle make, model, and year following the menu navigation.

Operate the Auto Create procedure to generate a new set of random sensor IDS. Insert the MX-Sensors to the slot on the TS601 tool and proceed to program the sensors with the new IDS. Since the sensors are programmed with new unique IDS, you need to perform a TPMS relearn on the car, so it can recognize the new installed sensors.

How-to-use-Autel-MaxiTPMS-TS601-23
How-to-use-Autel-MaxiTPMS-TS601-24
How-to-use-Autel-MaxiTPMS-TS601-25

When to use MaxiTPMS Pad?

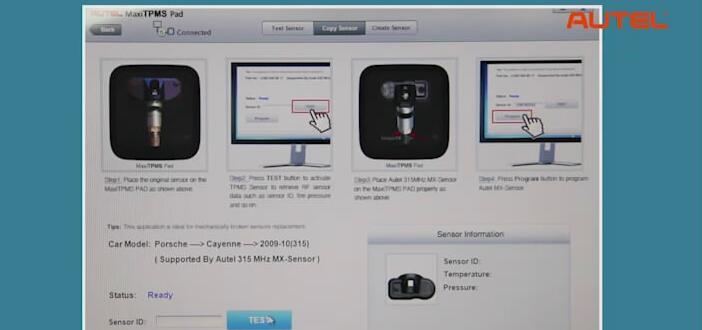
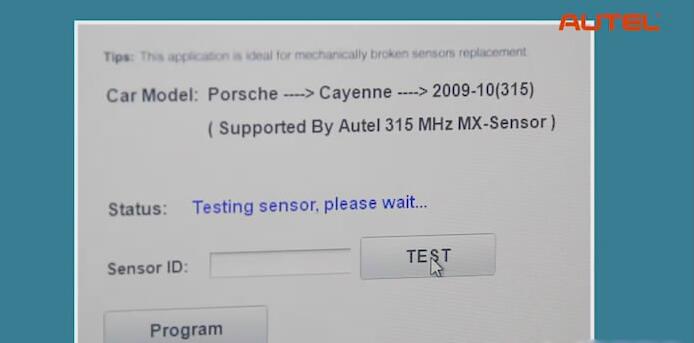
For busy shops where fast and volume production of copied or programmed sensors are greatly needed, the sensor programming accessory device MaxiTPMS Pad is the ideal solution for your fast growing business. MaxiTPMS Pad is a simple tool with an extremely easy-to-use PC program interface that performs sensor activation, copying and programming in just 3 steps:

1) Load the software on the PC.
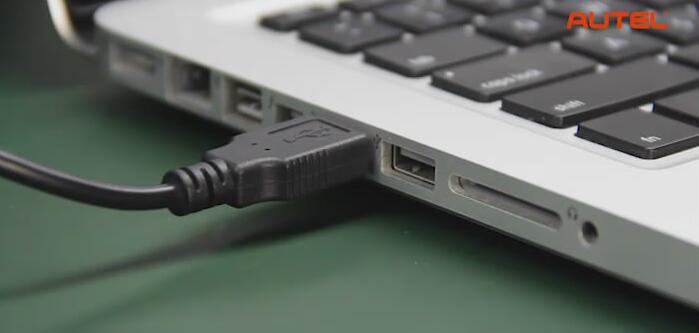
2) Connect the MaxiTPMS Pad to the PC.
3)Program MX-Sensor.
How-to-use-Autel-MaxiTPMS-TS601-26 How-to-use-Autel-MaxiTPMS-TS601-27 How-to-use-Autel-MaxiTPMS-TS601-28 How-to-use-Autel-MaxiTPMS-TS601-29 How-to-use-Autel-MaxiTPMS-TS601-30