obd2tools

obd2tools

obd2tools

obd2tools

How to set GM MDI 2 wireless connection

Firstly offer the procedure on how to set GM MDI 2 wireless connection, then solution to GM MDI 2 software error “Not connected to MDI”.

How-to-set-GM-MDI-2-wireless-connection-1
How-to-set-GM-MDI-2-wireless-connection-2

This is the GM MDI 2 hardware I have:

How-to-set-GM-MDI-2-wireless-connection-3

Part 1: How to set GM Scanner MDI 2 wireless connection:

What to do if MDI failed to connect on Wireless interface?

Check the wireless card is properly seated in the WiFi GM MDI.

Confirm LEDs on the wireless card are lighted when the MDI is powered.

Verify the MDI and PC are within range of the Access Point or Router.

Verify that the PC is connected to the Access Point or Router.

Verify signal strength of the wireless network from the PC.

Check Firewall Settings on your PC

USB connection takes precedence, unplug USB cable.

Wired Ethernet connection takes precedence, unplug Ethernet cable.

Connect to MDI using USB and run MDI Manager to verify the Wireless Settings are

configured correctly.

o Wireless interface is enabled.

o AP settings configured for proper security (authentication, encryption).

o Signal Quality (fair, good, excellent) indicates connected to AP.

o The MDI, PC and AP are on the same subnet

o If using static IP, verify the IP Address and Subnet mask are correct (supplied by network administrator.

Part 2: GM MDI “Not connected to MDI” solution

All what you need do is to refresh the GM MDI firmware.

http://chinaobdtool.net/2020/02/26/the-solutions-for-not-connected-to-mdi-error/

Autel IM608 Adds 2010 Chrysler Town & Country Keys

Autel MaxiIM IM608 did successfully pull the pin on a 2006 Dodge and I’m gonna show another 2010 Chrysler Town and Country.

Auto detect.
Autel-IM608-Adds-2010-Chrysler-Town-&-Country-Keys-1

Auto scan VIN.

Chrysler (USA).

Autel-IM608-Adds-2010-Chrysler-Town-&-Country-Keys-2

Diagnostic program loading.

Smart Mode.

Autel-IM608-Adds-2010-Chrysler-Town-&-Country-Keys-3

Read the message.

Autel-IM608-Adds-2010-Chrysler-Town-&-Country-Keys-4

Establishing vehicle communication.

Select “Smart Key”.

Autel-IM608-Adds-2010-Chrysler-Town-&-Country-Keys-5

Switch the ignition OFF and then ON again, make sure the engine is off.

Autel-IM608-Adds-2010-Chrysler-Town-&-Country-Keys-6

Establishing vehicle communication.

The password is 3679.

Autel-IM608-Adds-2010-Chrysler-Town-&-Country-Keys-7

Select “Read Immobilizer Password (CAN)”.

Autel-IM608-Adds-2010-Chrysler-Town-&-Country-Keys-8

Go to “Key Learning” again.

Tap “OK”

Establishing vehicle communication.

Autel-IM608-Adds-2010-Chrysler-Town-&-Country-Keys-9

Autel-IM608-Adds-2010-Chrysler-Town-&-Country-Keys-10

Learning failed.

I guess I should have the new key there.

Autel-IM608-Adds-2010-Chrysler-Town-&-Country-Keys-11

Turn the ignition off and pull out the current key. Insert another key to be programmed, turn the ignition on, and make sure the engine has not been started.

Autel-IM608-Adds-2010-Chrysler-Town-&-Country-Keys-12

Establishing vehicle communication.

Current number of keys is: 3

Learning successful.

Autel-IM608-Adds-2010-Chrysler-Town-&-Country-Keys-13

I don’t want to learn the next key, let’s see if it works.

Autel-IM608-Adds-2010-Chrysler-Town-&-Country-Keys-14

This is the new key, and I press the “Unlock button” it can start the car, nice.

Autel-IM608-Adds-2010-Chrysler-Town-&-Country-Keys-15

This is the old key.

Autel-IM608-Adds-2010-Chrysler-Town-&-Country-Keys-16

So. Success. As you can see, you did not need to connect the programmer, you can directly connect Autel IM608 to the Chrysler via OBD.

Which is the Latest Xentry Diagnosis Open Shell with HHT Built-in

Need advice: I plan to put a Windows 7 32 bit system on a partition and run an older version of Xentry that will auto-switch to DAS and HHT when I work on the older cars.

Please tell me which version of Xentry will run on a Windows 7 32 bit system and will give me automatic switching to HHT when I need it.

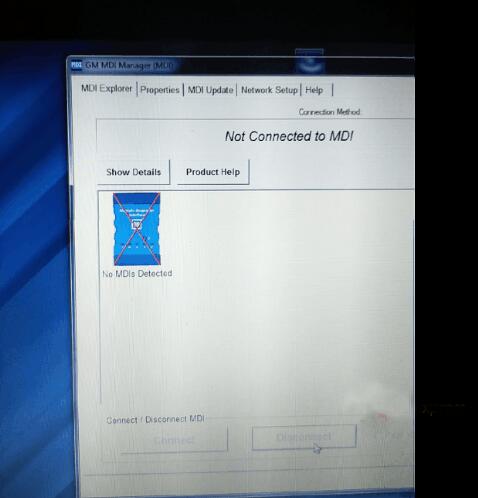
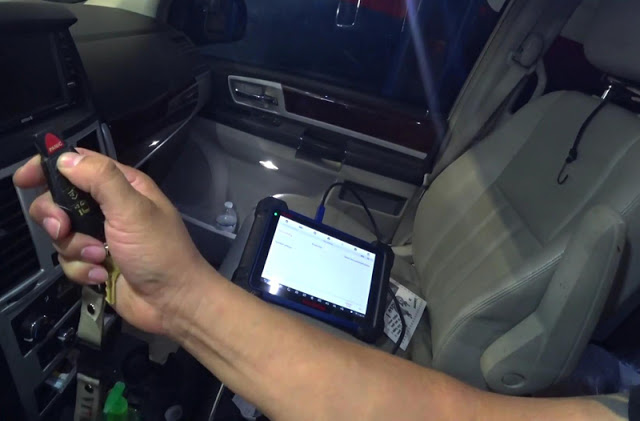
MB SD Connect Compact 4

The adavice:

None of the XDOS/OpenShell versions include HHT. The last release to include HHT was not XDOS/OpenShell, but was Star Diagnosis 12/2015 which would only install on Windows XP Professional.

You can get the HHT files and install them on any x86 OS and XDOS can open HHT if the HHT files come with an installer that places the correct files in place to link HHT to XDOS.

The latest HHT-WIN version: 12.2019

The ability is

HHT-WIN should be able to read all Modules.

Having said that, for Model Years 1990 – 12/1993, the Roadster Soft Top Module has 30 possible fault codes associated with it.
Whereas for Model Years 1/1994 – 1996, the Roadster Soft Top Module has only 11 possible fault codes associated with it.

The installation:

HHTWIN directly install on Windows 7 32 bit:

Disable UAC settings to “Never notify” -> Restart system if needed. It`s better to DISABLE idiotic Windows Defender too. Then, you could return UAC settings back.

First simply run HHT.exe, it will install HHT to C:\HHT, then start Xentry.OpenShell.XDOS.HHT.C4.exe/Xentry.OpenShell.XDOS.HHT.C3.exe … that`s all.
Some systems must be restarted at the end.

The problem with “–” version was fixed.
Delete C:\HHT directory and begin from the first step.
If you will update your Xentry.OpenShell.XDOS version … just apply the patch once again.

The good to use HTT-WIN:

1: so far the SD Connect C4 & HHT has been informative. erased RST codes, top works, going through other functions found some neat ones. Turn on/off headlights, taillights, turn the electric fans onto each of the 4 speeds etc.

2: On my new 2015 GMC Denali pickup, from the dash menu I can change between F and C for outside temp and coolant temp and transmission temp, and between MPH and KPH on the spedo, and between PSI and BAR on the oil pressure. I think I can also change the tire pressure readout between PSI and either BAR or KPascals. And I can even change the shape and location of the various gauges. Spedo and tach stay in the same place, but can change shape and display for oil pressure, transmission temp, voltmeter, coolant temp.

3: I changed F to C with HHTwin. I also activated the rollbar. Kind of underwhelming.

4: HHT-WIN successfully read the RST (RV) Module for my 1995 SL500.

How to Get System Log from Lonsdor K518 Programmer

This instruction share by Lonsdor K518 tech team,it focus on how to get system log from Lonsdor K518 device.

Procedures:

Hold those two buttons marked in red at the same time.

How-to-Get-System-Log-from-Lonsdor-K518-Programmer-1

Then you will enter the interface below,click “System Information” once and you will enter the interface as shown below.

How-to-Get-System-Log-from-Lonsdor-K518-Programmer-2

Click the area marked in red for five to eight times in one second continuously and quickly. And then click the area marked in green once.

How-to-Get-System-Log-from-Lonsdor-K518-Programmer-3

You will enter the interface below once again.

How-to-Get-System-Log-from-Lonsdor-K518-Programmer-4

Hold K518 return key of the device for several seconds.

How-to-Get-System-Log-from-Lonsdor-K518-Programmer-5

You will enter the interface as shown below. Click “Get System Log” once and then click “SD Card Scan” once.

How-to-Get-System-Log-from-Lonsdor-K518-Programmer-6

After that, connect the device to a computer and you will find a file called “System Log”.

How-to-Get-System-Log-from-Lonsdor-K518-Programmer-7


Autel IM608 Read Immo Data from BMW FEM M95128

In this introduction,OBD2TOOL will show you guide on how to use Autel MaxiIM IM608 to read out immobilizer data from BMW FEM M95128 chip.

Procedures:

Connect XP400 programmer to Autel IM608 tool,then use APA103 clamp to connect EEPROM to XP400.

Autel-IM608-Read-Immo-Data-from-BMW-FEM-M95128-1

Then select “IMMO”–>”BMW”–>”System Selection”–>”Immobilizer”

Select “FEM/BDC immobilizer”

Autel-IM608-Read-Immo-Data-from-BMW-FEM-M95128-2

Select “EEPROM operation”

Autel-IM608-Read-Immo-Data-from-BMW-FEM-M95128-3

Here you can select “Diagram” to check the connection

Autel-IM608-Read-Immo-Data-from-BMW-FEM-M95128-4

FEM-M95128

Autel-IM608-Read-Immo-Data-from-BMW-FEM-M95128-5

Scroll download to check “BDC M95256”

Autel-IM608-Read-Immo-Data-from-BMW-FEM-M95128-6

And position of pins on EEPROM

Autel-IM608-Read-Immo-Data-from-BMW-FEM-M95128-7

In this expamle,it is M95128,here we back to menu to select “95128”

Autel-IM608-Read-Immo-Data-from-BMW-FEM-M95128-8

Select “Read operation”

Autel-IM608-Read-Immo-Data-from-BMW-FEM-M95128-9

Reading EEPROM,please wait…

Autel-IM608-Read-Immo-Data-from-BMW-FEM-M95128-10

When finish,you can save it.

Autel-IM608-Read-Immo-Data-from-BMW-FEM-M95128-11